I am up on the 2Crafty blog with my May project shares you can see the post
HERE
"Let's Hear It For The Boys"
by Tracee Provis
Hi there 2Crafty fans, thanks for stopping by the blog today.
Before we get started..
Please remember to become a blog follower & leave a comment to
be eligible to go in our monthly draw for a great chippie prize pack.
The more comments you leave, the more chances to win.
Hi Tracee with you today to share a couple of scrapbook pages, my first page only has
a small amount of patterned paper and I simply let the fabulous chipboard do the rest.
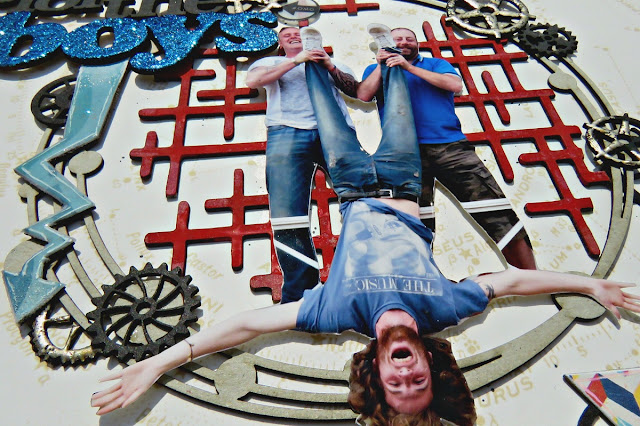
Whilst we were on vacation the boys got up to all sorts of fun and games, including dangling
my son upside down, I couldn't resist cutting out this pic. I used the largest circle from the
6" Circle Dot Frame Set as a platform for the photo to stand on, I painted the
Interlocking Grid Panel piece with red paint and layered this behind.
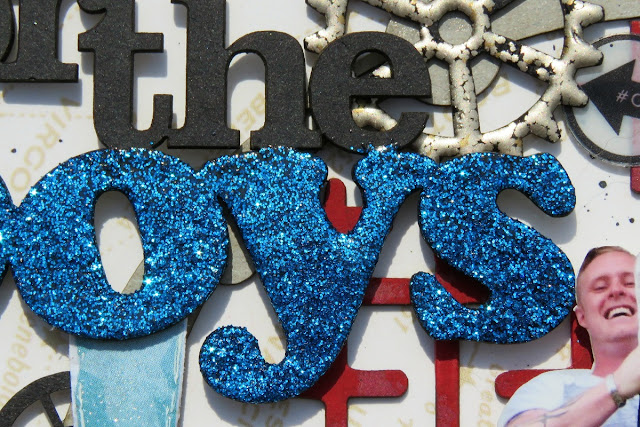
For the title I wanted the boys part to stand out from the rest so I inked the whole thing
with charcoal ink and then I added blue glitter embossing powder to just the word "boys"
and left the rest plain. I added in a Funky Arrow for a bit of interest, I pointed
it downwards to replicate my son dangling down.
I used the same charcoal ink on my gears & I used both the medium and the small size sets.
I love that there are so many choices to get just the size you need. I have some aged silver
embossing powder that I used on them and it gives a sort of mottled effect that is fab.
I added some paper covered triangles to give a little movement to the page. The word
experience is from the Travel Word Disc set, I just cut the frame off and I can use
that on another page.
2 Crafty Chipboard used:
Funky Assorted Arrows
Travel Word Disc Set
Lets Hear It For The Boys Title
Triangles
Steampunk Gears Medium
Steampunk Gears Small
6" Circle Dot Frames
Interlocking Grid Panel
"Right Here Right Now by Tracee Provis"
For my second page I found this picture of my daughter and her friend. There was lots
of space around them and I thought it would be good to layer my title piece over it. I used the new Bo Bunny Butterfly Kisses collection for this page it worked beautifully with both my picture and the chippies.
I have had the Old Fence chipboard in my stash for a while, it worked perfectly with this
picture, and after I had treated it with some gesso and various brown inks, I cut it in half
and placed it either side of the picture. It actually looks like wood! I added some gesso to
the Grass Clumps and placed those over the bottom of the fence chippie.
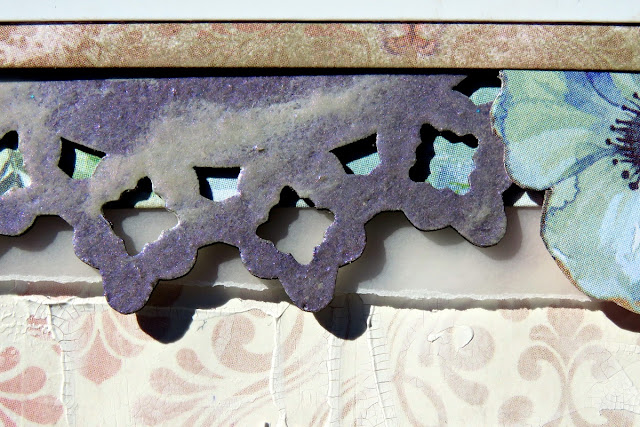
I added a Violet Pearl embossing powder to the doily piece, on this one the chippie was
raw and it came out an actual violet colour but you will see in the next pic that if you
add just a little gesso to the chipboard it reacts in a totally different way.
See here how over the gessoed parts it takes on a translucent tone that shimmers
when the light catches it.
2 Crafty Chipboard Used;
Right Here Right Now Title
Grass Clumps
Old Fence
Dianne's Doily
I hope you have enjoyed your visit with me today and that you have a few ideas
to try with your chippies, see you next month.


